How to Change the Logon Screen in Vista
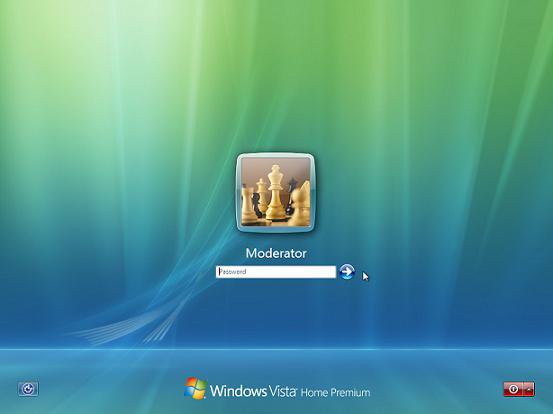
The Logon screen is the screen that shows the accounts on your computer when you are logging on. This consists of the Welcome, Shutdown, Lock Computer, Switch User, Logon, and Logoff screens. The Logon screens are saved as a .logonvista file.
EXAMPLE: Default Logon Screen
Here's How:
1. Download and save the free Stardock LogonStudio program..
2. Install the program.
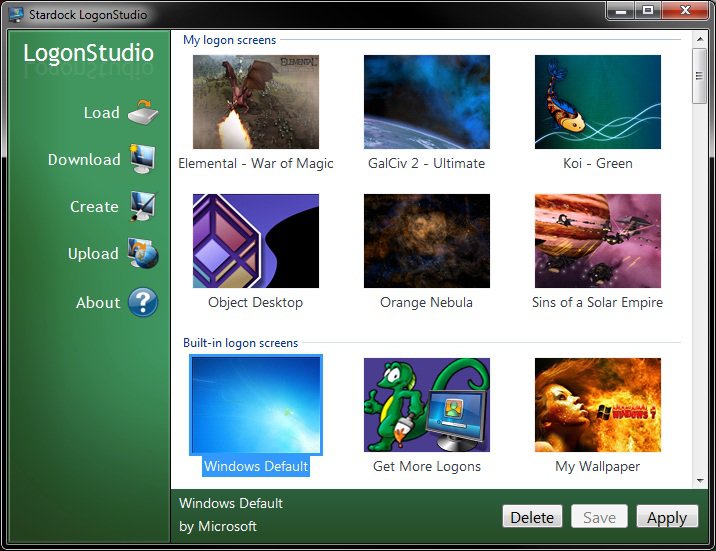
3. Click on the LogonStudio shortcut to run. (See screenshot below)
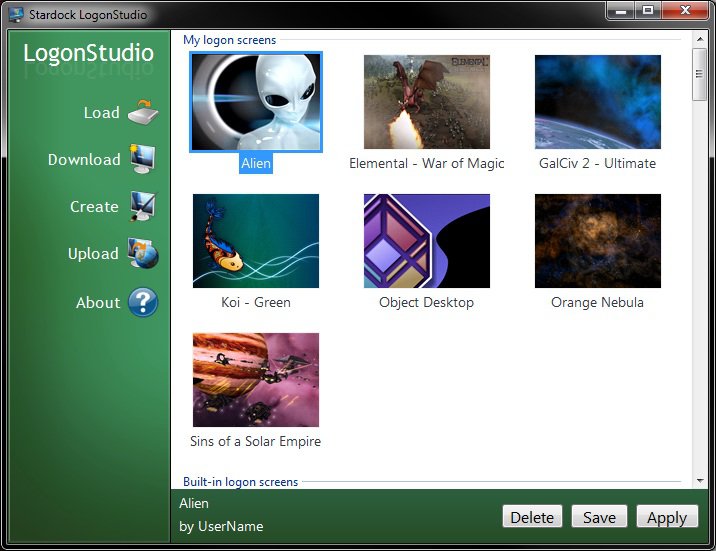
4. Click on Continue in the UAC Prompt. The main window will now open. (See screenshot below)
OPTIONS:
NOTE: See screenshot above. Click on these buttons to the left to do the action described.
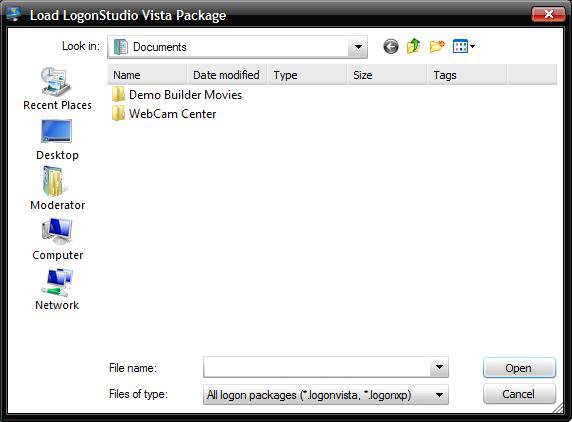
5. Load - To load a logon image you already created from step 7 below or downloaded from step 6 below. (See screenshot below)
A) Navigate to the location of the saved file.
B) Select it and click on Open.
C) Go to step 10.
6. Download - To download a logon image file from: WinCustomize: Explore : LogonStudio
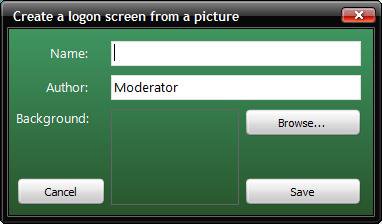
7. Create - To create a logon image file from any size .jpg, .png, or .bmp file you want.
NOTE: If the image you use is to small it may be distored.
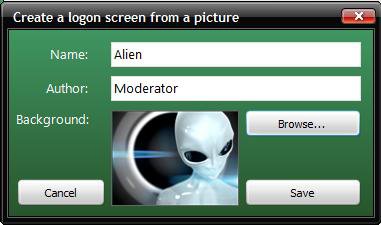
A) Type in a name for the logon image file. (See screenshot below)
B) Click on Browse.
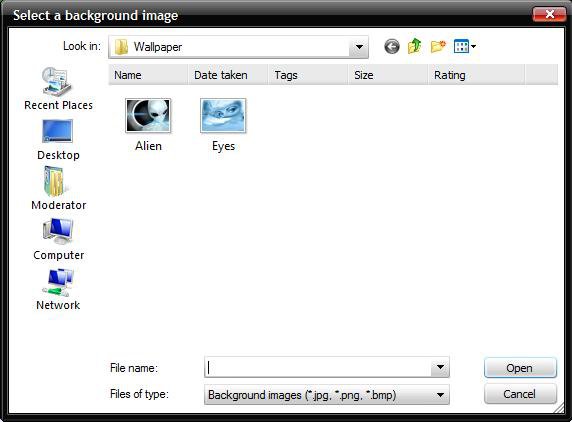
C) Navigate to the location of the .jpg, .png, or .bmp file. (See screenshot below)
D) Select it and click on Open.
E) Click on Save to add it to the main display window. (See screenshot below)
NOTE: By default, the logon screens are saved in the hidden system folder C:\ProgramData\Stardock\LogonStudio Vista.
F) Go to step 10.
8. Upload - This takes you to the same website from step 6 above, except you can register and upload a logon screen you created for everyone else to be able to download and use.
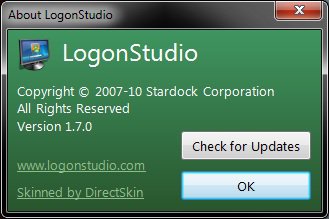
9. About - Tells you the about information for LogonStudio. (See screenshot below)
After you Loaded or Created a logon file Options:
NOTE: This will now have the logon file in the display window. EX: My Alien avatar (See screenshot below)
10. Save - To save the selected logon file to where you want it.
11. Apply - To change the logon screen to what you have selected.
NOTE: When you click Apply, you will be taken to the logon screen with your new screen where you will need to log back on. You will be taken back to where you left off after you logon.
12. Delete - To delete a selected logon file.
A) Click on Yes for the confirmation prompt.
That's it,
Shawn
Related Tutorials
- How to Change the Logon Screen Saver Wait Time in Vista
- How to Use and Change a Screen Saver in Vista
- How to Enable the Hidden Aurora Boot Screen in Vista
- How to Change the Default Boot Screen in Vista
- How to Change the Desktop Background Wallpaper in Vista
- How to Display a Logon Message Title and Text in Vista
- How to Display Information About Previous Logons During User Logon in Vista
- How to Hide a User Account in Vista
- How to Install and Use DreamScene in Vista
- How to Enhance Windows Vista DreamScene with Stardock DeskScapes
- How to Logon Automatically at Startup in Vista
- How to Enable or Disable Secure Logon in Vista
- How to Set a Default User Logon Picture for All Users in Vista and Windows 7
- How to Enable or Disable the Log On Screen Saver in Vista
- How To Change the Vista Startup Orb
Attachments
Last edited by a moderator:

