How to Change the Default Boot Screen in Vista
The boot screen is the screen that displays during the bootup (startup) of Vista before the logon screen (welcome screen) and the desktop.
Running the sfc/ scannow command will reset the boot screen back to default.
If you wanted to run chkdsk at startup or the Memory Diagnostic Tool and you have changed the default boot screen, then you will need to temporarily change the boot screen back to the default boot screen to be able to see what is happening first to be able to see what is happening when they run at startup.
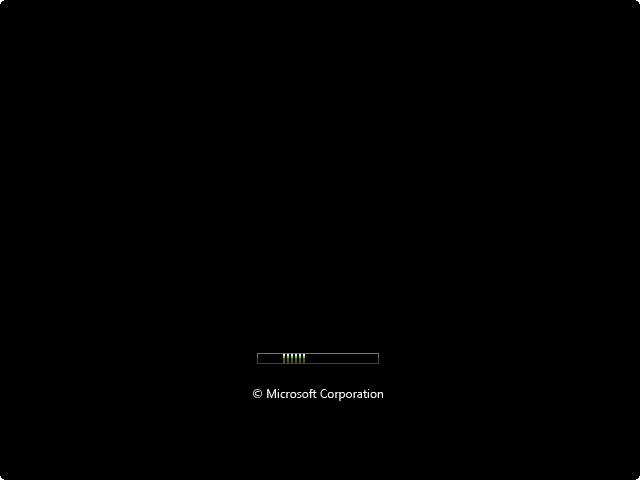
EXAMPLE: Default Vista boot screen
 OPTION ONE
NOTE: This free program will let you replace the default Vista boot screen with any free skin that you have downloaded from WinCustomize BootSkins. You cannot create a BootSkin with any image that you like with the free version of BootSkins though.
1. Download and install the Vista version of Stardock BootSkin.
NOTE: You will need to right click on the bootskinvista_public.exe installation file and click on Run as administrator to install this program properly.
2. Download a BootSkin that you would like to use as your boot sceeen, and save it somewhere you would like to keep it at.
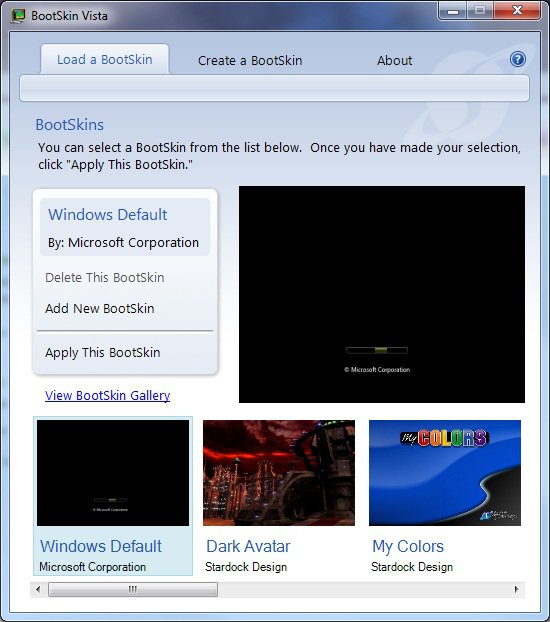
4. Run BootSkin. (See screenshot below)
3. To Add a BootSkin
NOTE: This will add a downloaded BootSkin to the bottom to have to select from.
A) Click on the Add New BootSkin option, then browse to where you have saved the downloaded BootSkin and select it.
4. To Delete a BootSkin
NOTE: This will delete and remove the currently selected BootSkin from the bottom.
5. To Apply a BootSkin as the Vista Boot Screen
A) Select a BootSkin from the bottom so that it appears in the larger preview window.
B) Click on the Apply This BootSkin option.
6. Restart the computer to see the changed boot screen.
 OPTION TWO
NOTE: This free program will allow you to replace the default Vista boot screen with any .bmp, .jpg, .png, or .gif image of your choice instead.
1. Download and install the free program Vista Visual Master.
If you get a "cannot find en-CA" type error while running this program, then open the Control Panel, and go into Regional and Language Options. Change the default input language format to the folder that you have in your C:\Windows\System32\Boot folder. For example, en-CA (Canada), en-US (United States), etc....
2. Use Compatibility Mode on the Vista Visual Master shortcut, and check the Run this program as an administrator box (see step 8 at link).
3. Click on the Vista Visual Master shortcut to run the program.
4. Click on Allow in the UAC prompt.
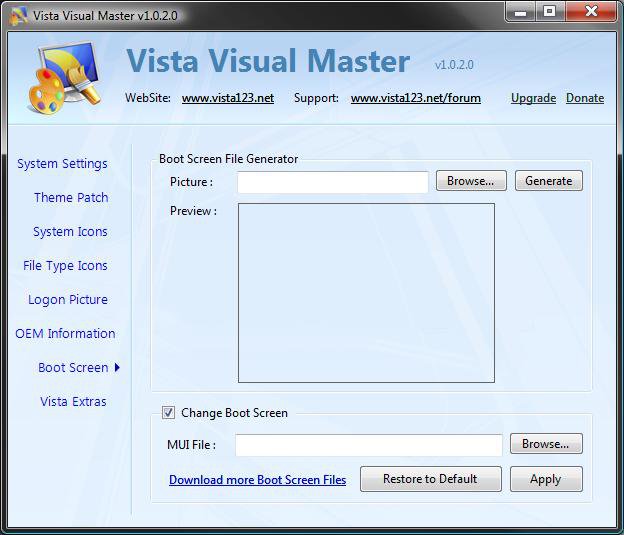
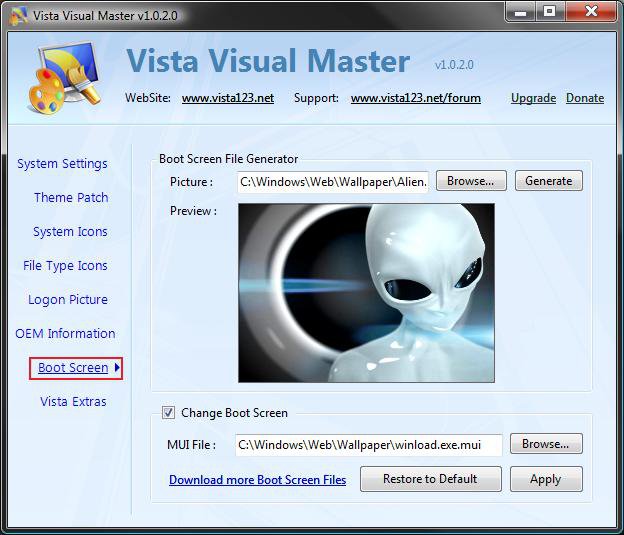
5. Click on the Boot Screen option. (See screenshot below)
6. To Change the Default Boot Screen
A) Click on Browse button and navigate to and select the .bmp, .jpg, .png, or .gif image you want for as the new boot screen. (See screenshot above)
B) Click on the Generate button and save the winload.exe.mui file to use as the new boot screen. (See screenshot below step 6E)
WARNING: The generated file must be named winload.exe.mui and remain on the computer for it to be able to be used at boot.
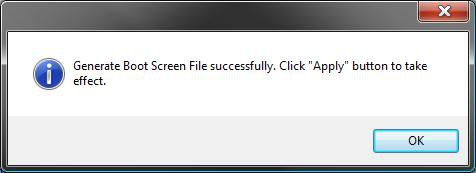
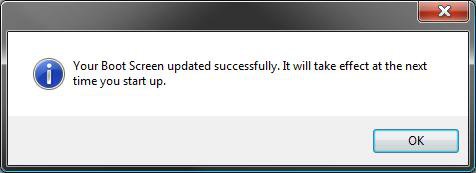
C) Click on OK in the success pop-up. (See screenshot below)
D) Check the Change Boot Screen box. (See screenshot below step 6E)
NOTE: If the location of the winload.exe.mui file you want to use is not correct, then click on Browse and navigate to where you saved it in step 6B.
E) Click on the Apply button. (See screenshot below)
F) Click on OK in the success pop-up. (See screenshot below)
G) Go to step 8.
7. To Restore the Default Boot Screen
A) Check the Change Boot Screen box. (See screenshot below step 5)
B) Click on the Restore to Default button. (See screenshot below step 5)
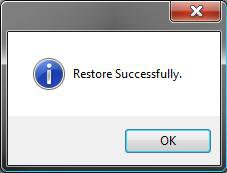
C) Click on OK in the success pop-up. (See screenshot below)
8. Close the Vista Visual Master window.
9. Restart the computer to see the changed boot screen.
That's it,Shawn
Related Tutorials
Last edited by a moderator:



 D:D
D:D