How to Use a Scanner with Vista
This function is built-in to Vista for many scanners - I have the HP1110 model (shown here as HP psc 1100) and have no problems with it. The main programs that you are likely to use with the scanner are Paint and Windows Photo Gallery. These can be run by clicking the start orb, typing the appropriate name in the search box and pressing enter/return. The procedures used with each program are described in detail below.
Scan Using Paint
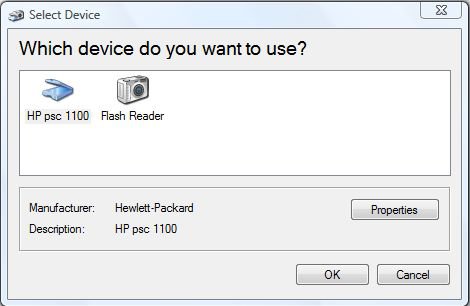
1) To scan using 'Paint', click on 'File' and then 'From Scanner or Camera...'. The following dialogue is displayed.
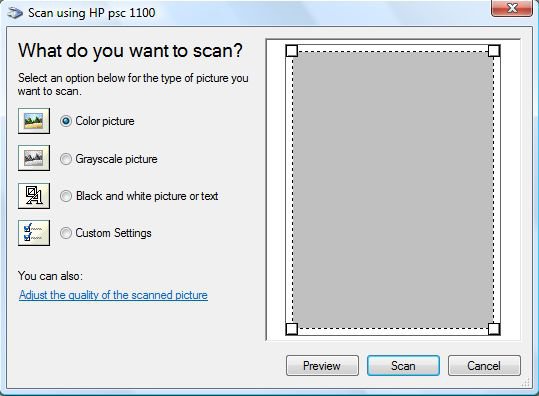
2) Highlight the appropriate device (in my case 'HP psc 1100') and click 'OK'. The following dialogue is displayed.
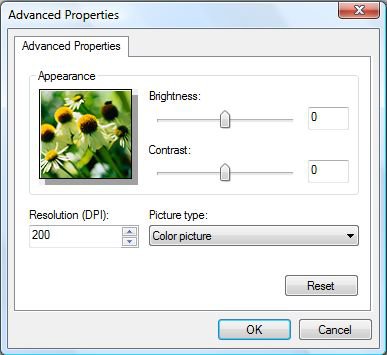
3) You can adjust the properties of the scanner here by selecting the appropriate radio button or by clicking 'Adjust the quality of the scanned picture' in which case the 'Custom Settings' radio button is automatically selected and the following dialogue is displayed. Make the appropriate changes and click 'OK' to return to the previous dialogue, 'What do you want to scan?'. If you click 'Reset', then the settings here are returned to their defaults, which is what is shown here. Note that you will still need to click 'OK' to continue.
4) Which ever setting you choose, you can perform a dummy scan by clicking the button marked 'Preview'. Finally, if you click the button marked 'Scan', the image is scanned and displayed in 'Paint'.Scan Using Windows Photo Gallery
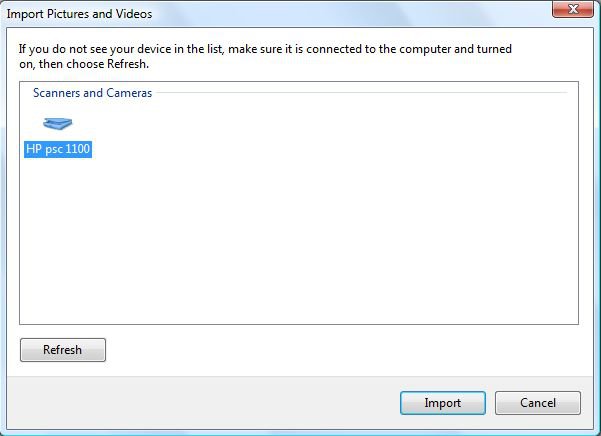
5) To scan using 'Windows Photo Gallery', click 'File' and 'Import from Camera or Scanner...'. The following dialogue is displayed.
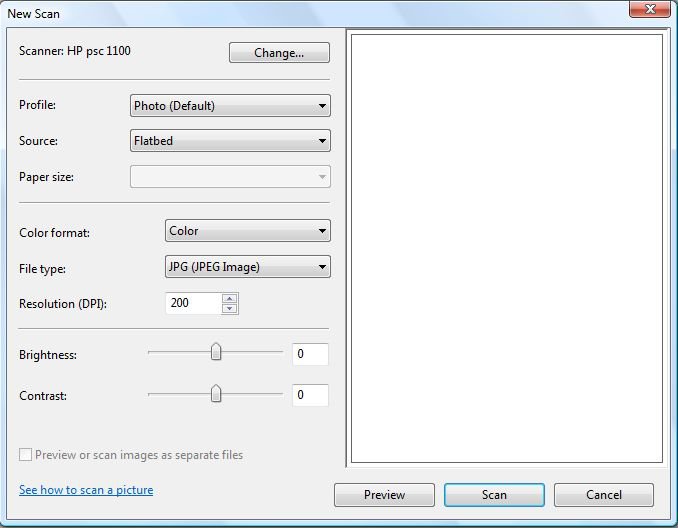
6) Click on 'Import' and the following dialogue will be displayed.
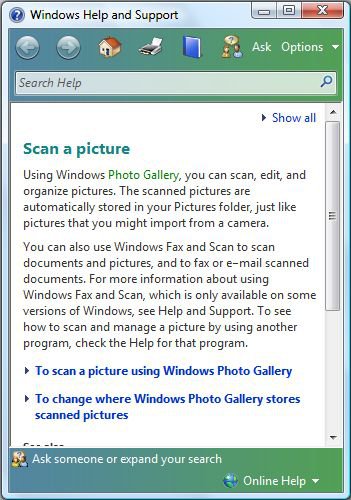
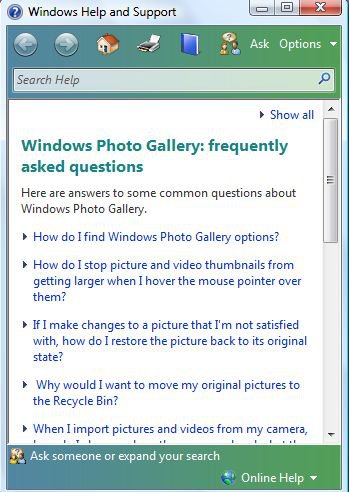
7) If you click on 'See how to scan a picture', the following 'Windows Help and Support' dialogue is displayed where you can find more information.
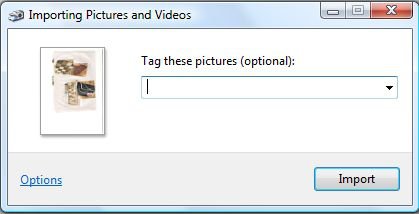
8) Going back to the previous screen 'New Scan', you can adjust the scanner settings here, and perform a dummy scan by clicking 'Preview' and an actual scan by clicking 'Scan' which scans the item and brings up the following dialogue when the scan has been completed.
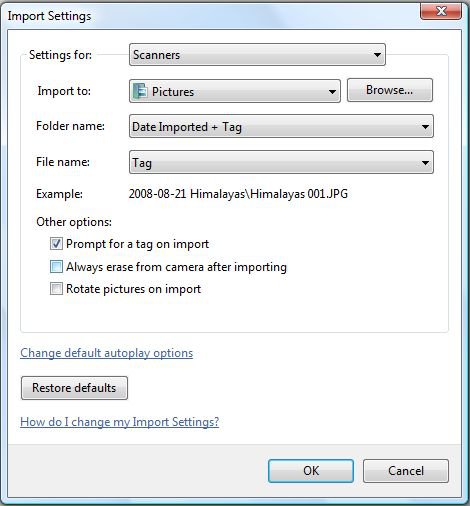
9) Here you can give the scanned image an appropriate name and then by clicking 'Import', the image is imported into 'Windows Photo Gallery' according to the current settings. If you click 'Options' prior to clicking 'Import', you can change the settings in the following dialogue panel.
10) Make the appropriate changes here and then click 'OK' to return to the 'Importing Pictures and Videos' dialogue and then click 'Import' to complete the procedure as described above. If you click on 'How do I change my Import Settings?', the following 'Windows Help and Support' dialogue is displayed where you can find more information.
Hopefully, this should help you with scanning images to your PC.Dwarf
Attachments
Last edited by a moderator:


 I've been thru the drill that the tutorial shows umpty ump times and when I get to "scanner" it basically says "huh what scanner!"
 (Also much supported by threads here from unhappy PSC 500 users who bought the adapter only to find they wasted their $$$.)

 My husband who bought this beast has been bemoaning not insisting on the XP ever since. Do you know what the changes/fixes will entail?