How to Enable or Disable Adding and Removing Taskbar Toolbars in Vista and Windows 7
This will show you how to enable or disable the ability for all or specific users on the computer to add a new taskbar toolbar or remove a current taskbar toolbar in Vista and Windows 7.
If you want to enable or disable taskbar toolbars and remove all current Toolbars, then see: How to Enable or Disable Taskbar Toolbars in Vista instead.
If you want to add or remove taskbar Toolbars, then see: How to Add or Remove a Toolbar on the Taskbar in Vista
If you want to add or remove taskbar Toolbars, then see: How to Add or Remove a Toolbar on the Taskbar in Vista
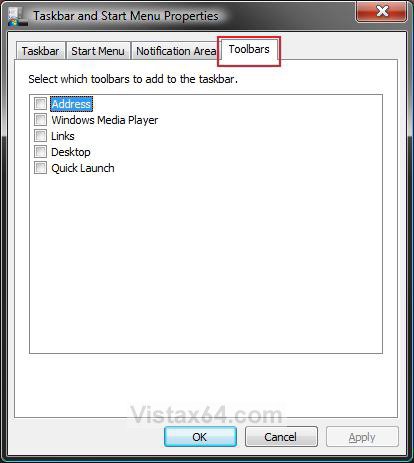
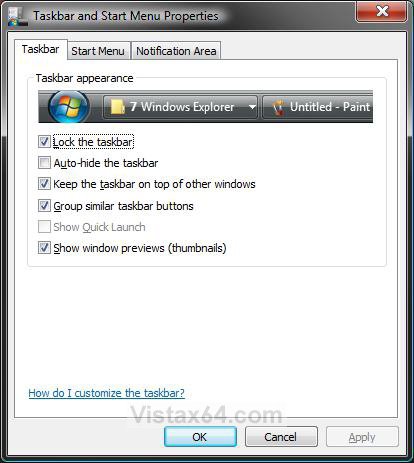
NOTE: You can see this window by right clicking on the taskbar, Start menu button, or inside the Start menu and click on Properties.
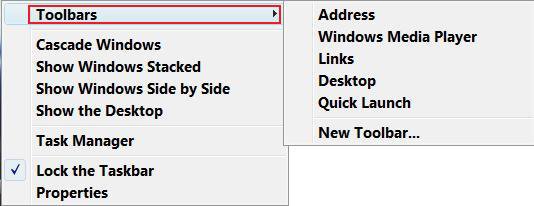
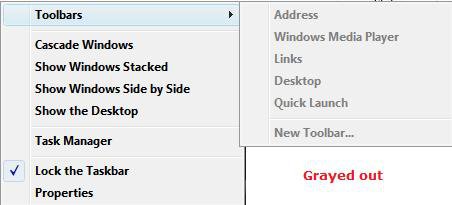
EXAMPLE: Toolbars Enabled and Disabled in the Taskbar Right Click (Context) MenuNOTE: If Toolbars is missing and not grayed out, then see this link instead: How to Enable or Disable Taskbar Toolbars in Vista
 OPTION ONE
1. Open the all users, specific users or groups, or all users except administrators Local Group Policy Editor for how you want this policy applied.
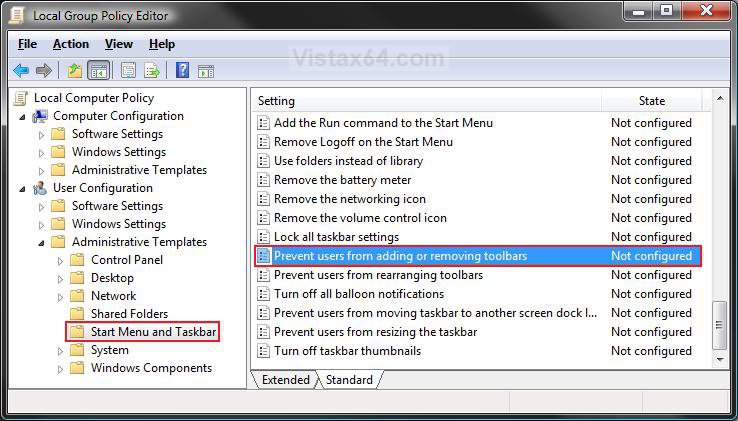
2. In the left pane, click on User Configuration, Administrative Templates, and Start Menu and Taskbar. (See screenshot below)
3. In the right pane, right click on Prevent users from adding or removing toolbars and click on Properties. (See screenshot above)
4. To Enable Adding and Removing Taskbar Toolbars
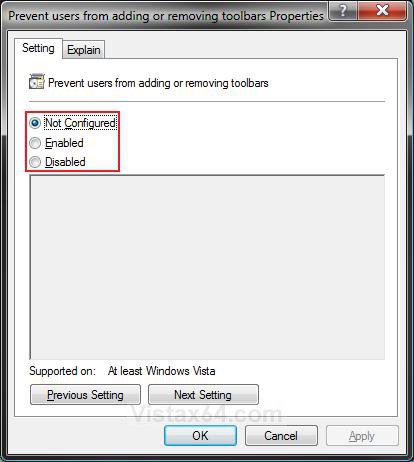
A) Select (dot) Disabled or Not Configured and click on OK. (See screenshot below 5A)
NOTE: Not Configured is the default setting.
B) Go to step 6.
5. To Disable Adding and Removing Taskbar Toolbars
A) Select (dot) Enabled and click on OK.
6. Close Local Group Policy Editor window.
 OPTION TWO
NOTE: This option will affect all users on the computer.
1. To Enable Adding and Removing Taskbar Toolbars
NOTE: This is the default setting.
A) Click on the Download button below to download the file below.
Enable_Add-Remove_Taskbar_Toolbars.reg
B) Go to step 3.
2. To Disable Adding and Removing Taskbar Toolbars
A) Click on the Download button below to download the file below.
Disable_Add-Remove_Taskbar_Toolbars.reg
3. Click on Save, and save the .reg file to the Desktop.
4. Right click on the downloaded .reg file and click on Merge.
5. Click on Run, Continue (UAC-Vista) or Yes (UAC-Windows 7), Yes, and then OK when prompted.
6. When done, you can delete the downloaded .reg file if you like.
 OPTION THREE
NOTE: This option will affect all users on the computer.
1. Open the Start Menu.
2. In the search box, type regedit, and press Enter.
3. If prompted by UAC, then click on the Continue (Vista) or Yes (Windows 7).
4. In regedit, go to: (See screenshot below)
HKEY_CURRENT_USER\Software\Microsoft\Windows\CurrentVersion\Policies\Explorer
5. To Disable Adding and Removing Taskbar Toolbars
A) In the right pane, right click on a empty area and click on New and DWORD (32-bit) Value. (See screenshot above)
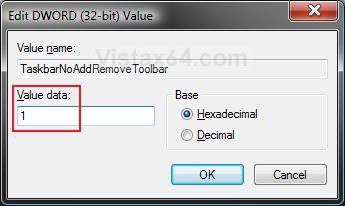
B) Type TaskbarNoAddRemoveToolbar and press Enter.
C) Right click on TaskbarNoAddRemoveToolbar and click on Modify. (See screenshot below)
D) Type 1 and click on OK. (See screenshot below)
E) The registry will now look like this. (See screenshot below)
F) Go to step 7.
6. To Enable Adding and Removing Taskbar Toolbars
NOTE: This is the default setting.
A) In the right pane, right click on TaskbarNoAddRemoveToolbar and click on Delete. (See screenshot above)
B) Click on Yes to confirm deletion.
7. Close regedit.
That's it,
Shawn
Related Tutorials
- How to Backup and Restore Taskbar Toolbars in Vista and Windows 7
- How to Reset and Clear All Taskbar Toolbars in Vista and Windows 7
- How to Add or Remove a Desktop Toolbar in Vista
- How to Use Quick Launch in Vista
- How to Hide or Show a Notification Icon in Vista
- How to Show or Hide All Notification Area System Tray Icons in Vista
- How to Turn Open Window Thumbnail Previews On or Off for the Taskbar in Vista
- How to Turn Group Similar Taskbar Buttons On or Off in Vista
- How to See the Date and Time on the Taskbar in Vista
- How to Lock or Unlock the Taskbar in Vista
- How to Enable or Disable Taskbar Toolbars in Vista
- How to Enable or Disable the Vista Taskbar Context Menus
- How to Enable or Disable the Taskbar and Start Menu Properties Window in Vista
- How to Add or Remove a Toolbar on the Taskbar in Vista and Windows 7[/INDENT]
Attachments
Last edited:

