How to Add a Logo and Support Information to Vista
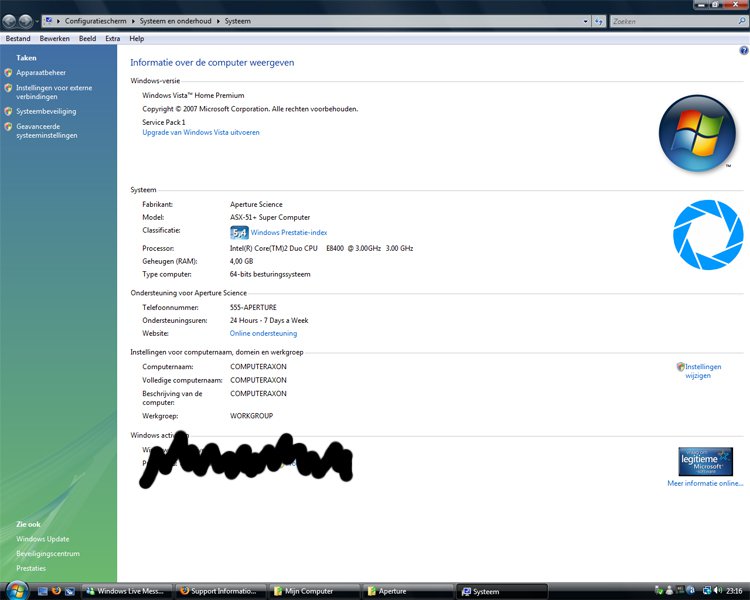
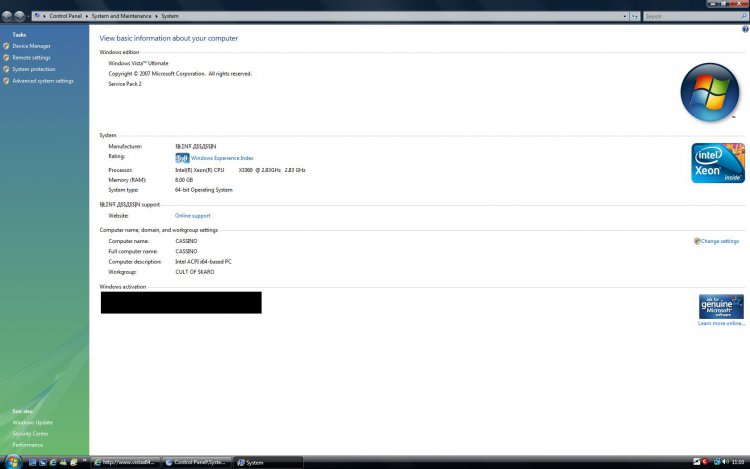
This will show you how to customize your System properties window by adding a logo and any support information of your choice.
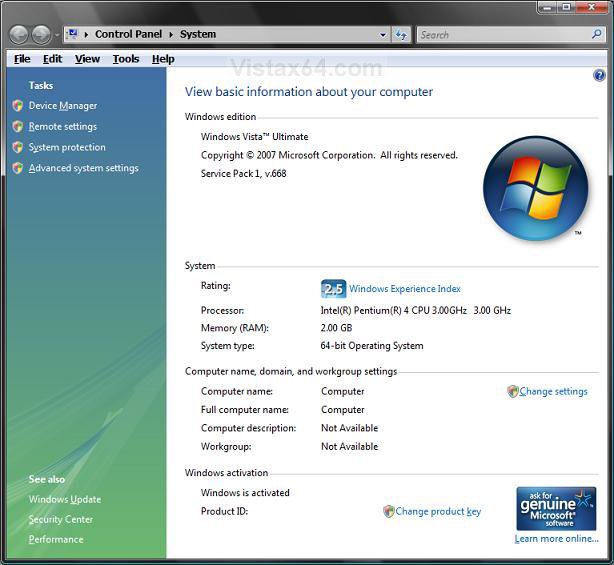
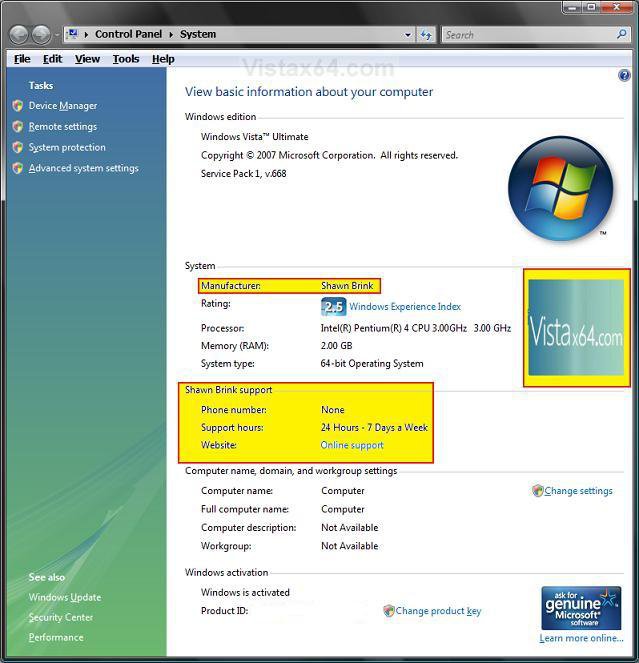
To see this, right click on Computer (Start menu) and click Properties, or open the Control Panel (Classic View) and click on System.
EXAMPLE: Before
NOTE: See After example at the bottom of the tutorial also.
Here's How:
1. Open the Start Menu.
2. In the white line (Start Search) area, type regedit and press Enter.
3. Click on the Continue button in the UAC prompt.
4. In regedit, go to: (See screenshot below step 5A)
HKEY_LOCAL_MACHINE\SOFTWARE\Microsoft\Windows\CurrentVersion\OEMInformation
5. To Add a Logo Image
NOTE: The logo must be a BMP image file and should not be bigger than 120x120 pixels in size. The logo must stay in the location specified in step 5D to be used, so store it somewhere it will not get deleted.
A) In the right pane, right click on a empty area and click on New and String Value. (See screenshot below)
B) Type Logo and press Enter. (See screenshot below)
NOTE: To undo this, right click on Logo and click on Delete. Click on OK to confirm.
C) Right click on Logo and click on Modify.
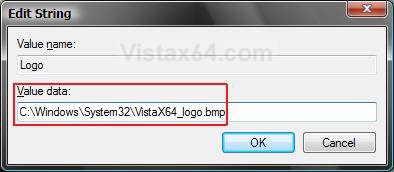
D) Type in the full path of the logo (BMP file) location and click on OK. (See screenshot below)
EXAMPLE: C:\Windows\System32\VistaX64_logo.bmp
6. To Add a Manufacturer Name
A) In the right pane, right click on a empty area and click on New and String Value. (See screenshot below)
B) Type Manufacturer and press Enter.
NOTE: To undo this, right click on Manufacturer and click on Delete. Click on OK to confirm.
C) Right click on Manufacturer and click on Modify.
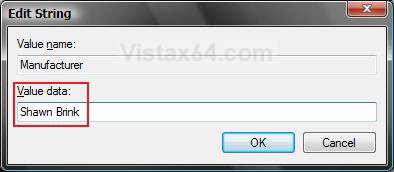
D) Type in a name and click on OK. (See screenshot below)
EXAMPLE: Shawn Brink
7. To Add Support Hours
A) In the right pane, right click on a empty area and click on New and String Value. (See screenshot below)
B) Type in SupportHours and press Enter.
NOTE: To undo this, right click on SupportHours and click on Delete. Click on OK to confirm.
C) Right click on SupportHours and click on Modify.
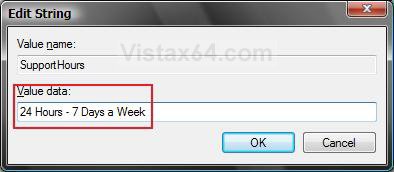
D) Type in your support hours and click on OK. (See screenshot below)
EXAMPLE: 24 Hours - 7 Days a Week
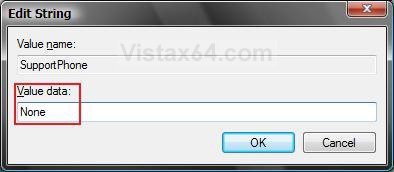
8. To Add a Support Phone Number
A) In the right pane, right click on a empty area and click on New and String Value. (See screenshot below)
B) Type SupportPhone and press Enter.
NOTE: To undo this, right click on SupportPhone and click on Delete. Click on OK to confirm.
C) Right click on SupportPhone and click on Modify.
D) Type in a phone number and click on OK. (See screenshot below)
EXAMPLE: None
9. To Add a Support Website Address
A) In the right pane, right click on a empty area and click on New and String Value. (See screenshot below)
B) Type SupportURL and press Enter.
NOTE: To undo this, right click on SupportURL and click on Delete. Click on OK to confirm.
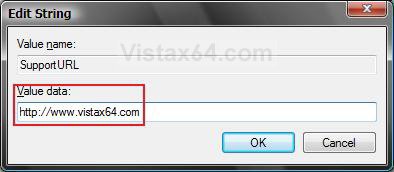
C) Right click on SupportURL and click on Modify.
D) Type in the URL web address and click on OK. (See screenshot below)
NOTE: In System, it will be a URL link that says Online Support, but will go to the address you typed in.
EXAMPLE: Vista Forums
10. Close Regedit.
EXAMPLE: AfterNOTE: To see the changes, right click on Computer (Start menu) and click Properties, or open the Control Panel (Classic View) and click on System. If this was open, close it and reopen it to see the changes.
That's it,Shawn
Related Tutorials
- How to Change the Computer Name in Vista
- How to Create or Remove a Custom Title Bar in Internet Explorer 7
- How to Change the Registered Owner and Organization Information in Vista
- How to See the About Windows in Vista
- How to See System Information in Vista
- How to Set a Default User Logon Picture for All Users in Vista and Windows 7
Attachments
Last edited:

