Hi Vito,
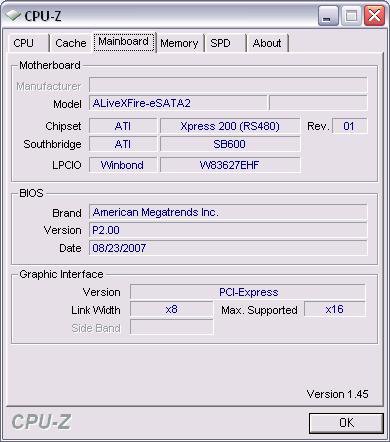
I have just had a look at the manual for your board. It is possible to set the various memory parameters in the BIOS. Note that most of the information and text in this post is taken directly from the manual (link given at the end of this post). To enter your BIOS, press <F2> during the Power-On-Self-Test (POST) to enter the BIOS SETUP UTILITY, otherwise, POST will continue with its test routines. If you wish to enter the BIOS SETUP UTILITY after POST, restart the system by pressing <Ctl> + <Alt> + <Delete>, or by pressing the reset button on the system chassis. You may also restart by turning the system off and then back on. Once you have entered the BIOS, the following screen will appear.
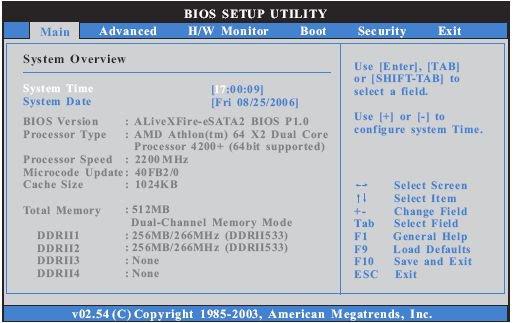
Select the 'Advanced' tab. The following screen will appear.
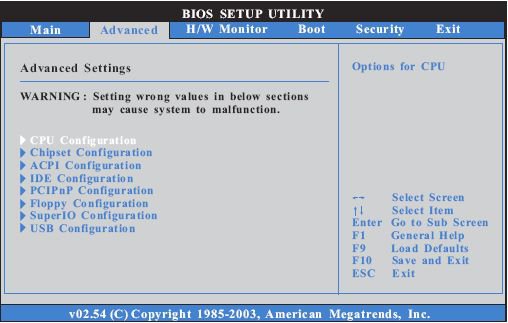
Select the 'CPU Configuration' option. The following screen will appear.
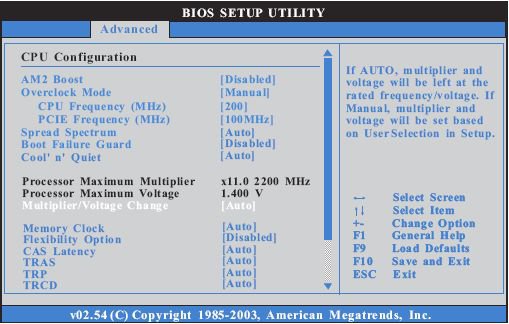
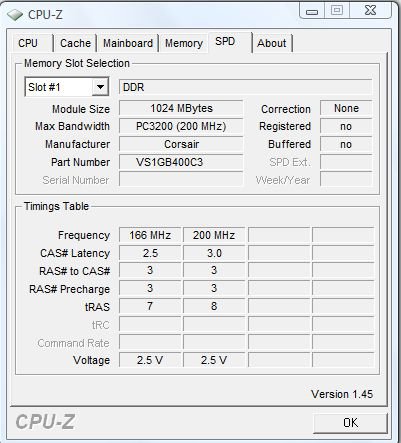
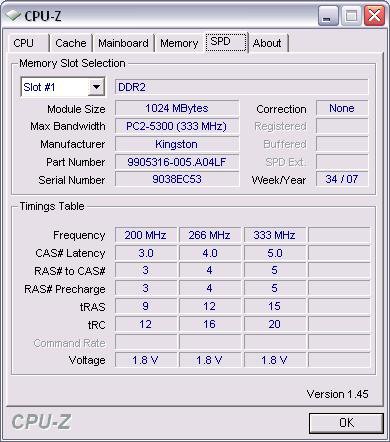
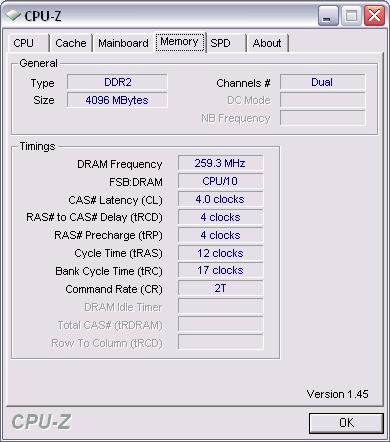
On this screen, the items that we are interested in are towards the lower half of the screen, from 'Memory Clock' downwards, so you will have to use the scroll bar to see the rest of them. Refering to my previous post, copy the relevant figures over to the appropriate section. For those sections which CPUID doesn't give a value for, leave these set as 'Auto'. Also, set the 'Flexibility Option' to 'Enabled'.
Memory Clock
This item can be set by the code using [Auto]. You can set one of the standard values as listed: [200 MHz (DDRII 400)], [266 MHz (DDRII 533)], [333 MHz (DDRII 667)], and [400MHz (DDRII 800)].
Flexibility Option
The default value of this option is [Disabled]. It will allow better tolerance for memory compatibility when it is set to [Enabled].
CAS Latency
Use this item to adjust the means of memory accessing. Configuration options: [Auto], [3T], [4T], [5T], and [6T]. The default value is [Auto].
TRAS
Use this to adjust TRAS values. Configuration options: [Auto], [5CLK], [6CLK], [7CLK], [8CLK], [9CLK], [10CLK], [11CLK], [12CLK], [13CLK], [14CLK], [15CLK], [16CLK], [17CLK], and [18CLK]. The default value is [Auto].
TRP
Use this to adjust TRP values. Configuration options: [Auto], [3CLK], [4CLK], [5CLK], and [6CLK]. The default value is [Auto].
TRCD
Use this to adjust TRCD values. Configuration options: [Auto], [3CLK], [4CLK], [5CLK], and [6CLK]. The default value is [Auto].
TRRD
Use this to adjust TRRD values. Configuration options: [Auto], [2T], [3T], [4T], and [5T]. The default value is [Auto].
TRC
Use this to adjust TRC values. Configuration options: [11T] to [26T]. The default value is [Auto].
MA Timing
Use this to adjust values for MA timing. Configuration options: [Auto], [2T], [1T]. The default value is [Auto].
Bank Interleaving
Interleaving allows memory accesses to be spread out over banks on the same node, or across nodes, decreasing access contention.
When you have finished, click <F10> to save your changes and exit the BIOS utility. Alternatively, keep pressing 'ESC' until you return to the main BIOS screen as shown above. From there, select the 'Exit' tab and the following page will appear.
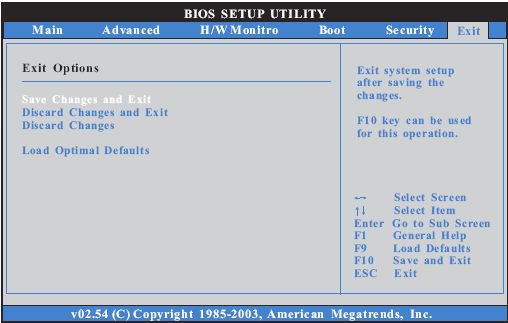
The option you require is 'Save Changes and Exit', and when you select this option, it will pop-out the following message, “Save configuration changes and exit setup?” Select [OK] to save the changes and exit the BIOS SETUP UTILITY.
If that doesn't work, then you might like to consider skunksmash's suggestion of using 2 x 2GB modules to give you 4GB instead of the 4 x 1GB ones that you currently have.
Dwarf
ASRock Motherboard - Product - ALiveXFire-eSATA2 R3.0 - Manual

