How to Enable Windows Mobility Center on a Desktop Computer
By default, the Windows Mobility Center feature is only enabled and available on laptops, notebooks, and tablet PCs. This will show you how to enable Windows Mobility Center to allow it to run on a Desktop computer.
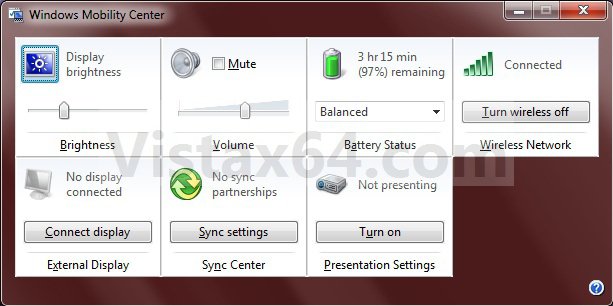
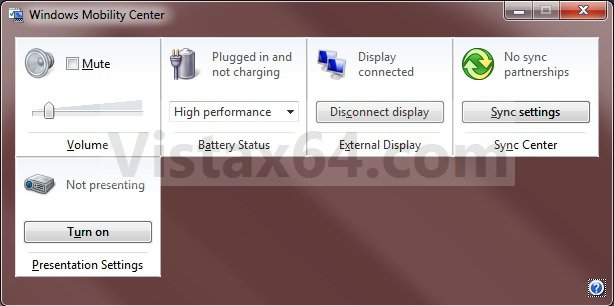
Windows Mobility Center displays the most commonly used laptop settings, such as display brightness, volume, battery status, wireless network status, external display, Sync Center, and Presentation settings in one location for quicker access in Windows 7.
DO NOT DO THIS ON A LAPTOP, NOTEBOOK, OR TABLET PC. This is only for a desktop computer.
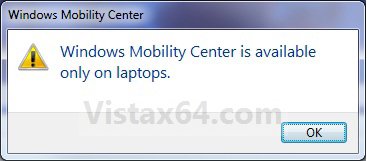
EXAMPLE: Windows Mobility Center Disabled
NOTE: This is what you will see if you tried to open Windows Mobility Center on a desktop when it is disabled by default.
EXAMPLE: Windows Mobility Center EnabledNOTE: Each available setting is displayed as a tile in Mobility Center. Different tiles are displayed depending on your system hardware and drivers. Not all settings are available on laptops and desktops. The left screenshot is from a laptop, and the right screenshot is from a desktop.
 OPTION ONE
1. Click on the Download button below to download the file below.
Enable_Desktop_WMC.zip
2. Click on Save, and save the .zip file to the desktop.
3. Open the .zip file and extract the .reg file to the desktop.
4. Right click on the extracted .reg file and click on Merge.
5. Click on Run, Continue, Yes, and OK when prompted.
6. When done, you can delete the downloaded .reg and .zip files if you like.
7. To Open Windows Mobility Center on a Desktop
A) Open the Start Menu.
B) In the search line, type mblctr.exe and press enter.
NOTE: If you would like to create a Windows Mobility Center shortcut, then right click on mblctr.exe at the top of the Start Menu below and click on Send to Desktop (create shortcut). You can also create one from the exe file located at C:\Windows\System32\mblctr.exe.
 OPTION TWO
1. Click on the Download button below to download the file below.
NOTE: This will restore the default settings in a Windows 7 desktop computer.
Disable_Desktop_WMC.zip
2. Click on Save, and save the .zip file to the desktop.
3. Open the .zip file and extract the .reg file to the desktop.
4. Right click on the extracted .reg file and click on Merge.
5. Click on Run, Continue, Yes, and OK when prompted.
6. When done, you can delete the downloaded .reg and .zip files if you like.
That's it,Shawn
Attachments
Last edited:


